
 Last summer I discovered the wonderful world of canning. It’s the crafty, rewarding, and a great way to stay productive in the summer. As a teacher, I’ll admit, I get lazy and out of sync when I don’t have a schedule… Canning is on of several activities that keeps me busy and focused during long breaks from work. I would recommend it to anyone who is looking for a new hobby or just something different to do the next time you find yourself hanging around the house being bored.
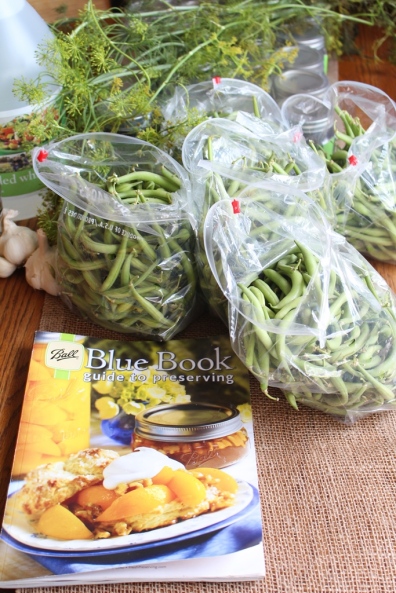
The best place to start is by purchasing the Ball Blue Book. It explains everything in fantastic detail and has a wealth of recipes. For more information, check out the Ball getting started website.
Dilly Beans was the first recipe that I tried on my own and it was EASY! My friend, Mrs. Awesome, makes these every year with her daughters. They are a coveted family treat in their household. Last year, she gave us a couple extra cans and they were gone in 3 days! Once they were gone, I knew I had to start canning if we were going to have a steady supply of this spicy pickled goody in our home. The recipe calls for 2 lbs of beans which sounds substantial at first… until you notice it only makes about 4 jars. Between MM and I, those are as good as gone in a week. That simply will not do! So, this year I decided to start with 5 lbs which yielded 12 cans. That’s way more like it!
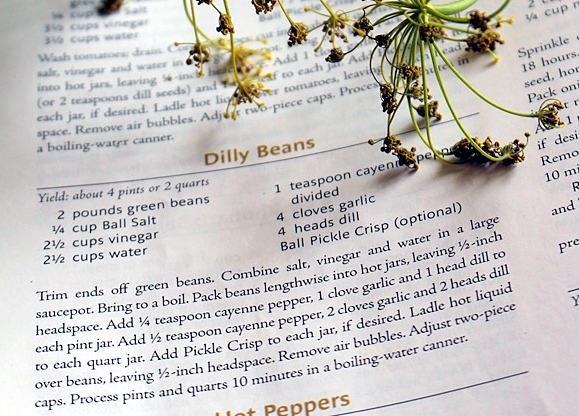
There is absolutely no reason to deter from the genius that is the Ball Blue book nor do I see a reason to type out the recipe, so here ya go:
Below are a few tips and tricks I’ve learned along the way:
First, you need to wash and cut the beans. This is the most tedious part of the whole operation. Make sure you get rid of the stalks in particular.

I like to add the dill, cayenne pepper, and garlic to the cans before stuffing them with beans. It’s easier. It says to use a whole head of dill per can but the ones I got were huge so I broke them into thirds and it worked great. I also like using the stringy leafy bits as well as the heads.

Then stuff the beans lengthwise into the cans.
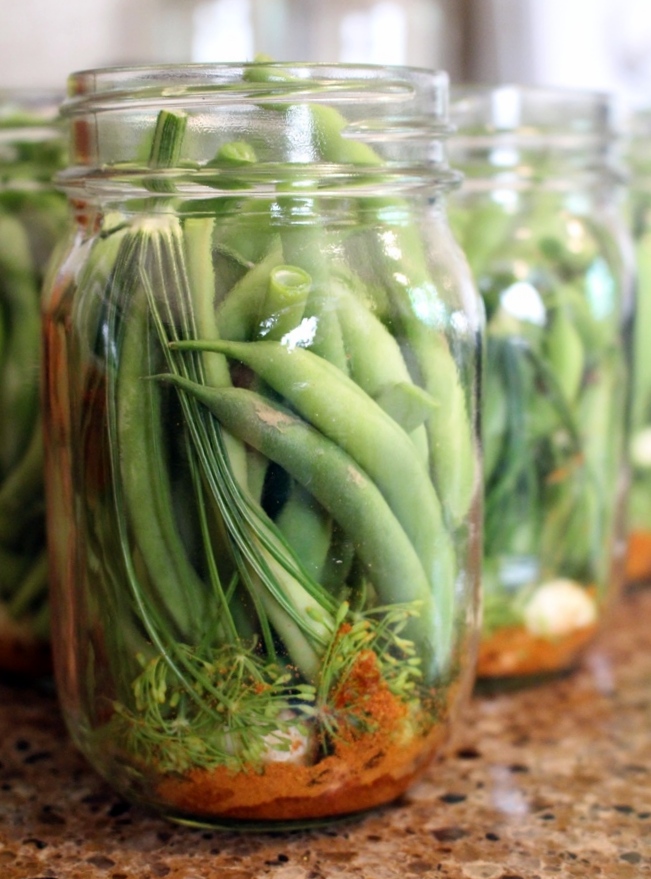
After adding the boiling liquid, you’ll want to get the air bubbles out using headspace tool. You will probably find that you may be able to stuff a few more beans in the can too…. do it!!
Seal the cans and put them in a 10 minute water bath.
I like to wait at least 4 days before diving in. It gives the flavors a chance to really sink in.
Enjoy chilled.


This sounds delicious. I love dill. I don’t have any canning equipment. It’s just my husband and myself. We buy small quantities.
It’s just us too but that’s the beauty of canning. You make a lot with the fresh stuff and then you have it past season.
It looks delicious. Canning is such a great way to store the extra produce.
I can’t wait to have a bigger garden so I can grow my own beans!!
I have used 1 1/2 pint jars for many years. Lowe’s has carried them the past few years. These jars make it possible to leave the beans whole and plenty of room for the dill and garlic. I adjust the recipe- like 1 1/2 clove garlic etc. These make a nice addition to Bloody Mary’s 🍹
I’ll have to go and find those cans that sounds great. Also great idea on the bloody Mary’s!
Wow! Those look really good! I love flavored green beans, but I have never cooked them myself. I may have to try this~
Came over on Wonderful Wednesday, and I’m glad to find your site~
I followed you on Pinterest and pinned you here: https://www.pinterest.com/melredd/blog-link-parties-and-blog-link-ups/
Hope you have a blessed day today~
Melanie
Thanks Melanie! I hope you enjoy!
I’m so glad to find someone who cans!
Pleased to make your acquaintance. Following you on bloglovin 😉
I bet the cayenne pepper gives these dilly beans a nice kick. YUM!
Just the right amount. I can’t handle a lot of spice, although I love it. This is the perfect amount.
I think I need to try this!
I love Dilly Beans and need to thank you for the recipe and tips, now I can make my own!! Thanks.
Enjoy!!
Love Dilly beans. I have not canned them but my daughter-in-law does. Yummy! I have canned a lot over the years but not as much now. I did can some mango jam this year. It is nice to have canned food for later in the year.
Thanks for sharing at Wake Up Wednesday,
Bev
The consensus seems to be that canning is a phase. It’s fun for a few years, then it turns into work. I’m still in the fun phase. I hope it lasts!
I love freezing our garden veggies for use through the colder months. But I have never tried canning anything. Thank you for sharing at the Thursday Favorite Things blog hop xo
I’ve only tried Dilly Beans recently and was so surprised at how much I loved them. They were so good. Now I know how to make them 🙂 Thanks for sharing on the Homestead Blog Hop this past Wednesday. I hope we see you again this week. Pinned!
I like your ideas. Thank you for linking up to Creative K Kids’ Tasty Tuesdays. I have pinned your post to our Tasty Tuesdays Pinterest Board.
These sound great! I have that Ball book…it is wonderful! I get so many great recipes from it!
Thanks for linking up with Green Thumb Thursday. We hope you’ll stop back this week!
Lisa
It’s the best! Glad you enjoyed!